
Once a writing task has been uploaded into NZCER Assist, you can begin manually marking. The steps and images below
outline how to mark a PAT Tuhituhi Te Pihinga student response.
1. In NZCER Assist, go to the Dashboard and select PAT Tuhituhi Te Pihinga
2. Find the relevant PAT Tuhituhi Te Pihinga assessment and select Manage Learners
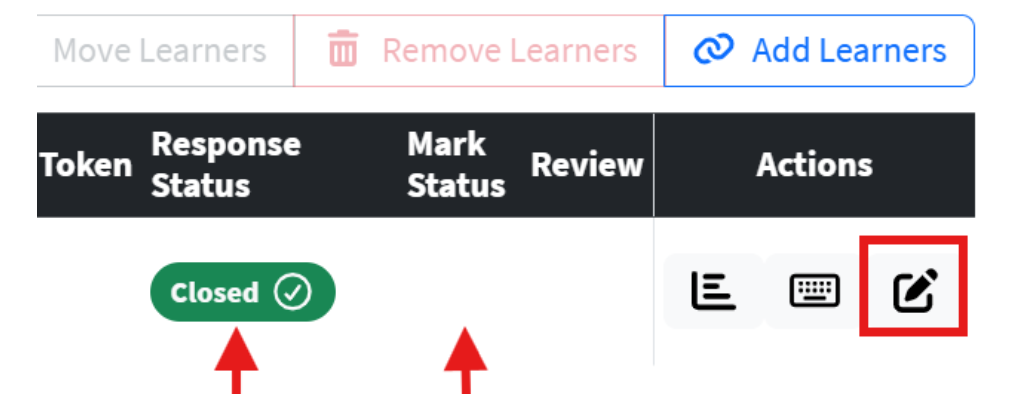
3. Find the student with a ‘Closed’ response status and a ‘blank’ Mark Status, and
select Manage Marking (pencil looking icon under Actions)
4. Select Create Mark
5. When creating a mark you will see the following screen. It displays the uploaded student’s response and each rubric element. These are displayed by shading in the scoring section.
6. When scoring a student’s writing using the rubric elements, refer to the PAT
Tuhituhi Te Pihinga – Marking Rubric found in the kaiako guide
7. You can save a draft mark – this will create an In Progress mark which you can revisit and edit in the Manage Learners screen
8. If you’re happy with the mark, click Submit Marking to create a Finished: Success mark score
9. If you submit a mark, and later decide that the mark needs to be updated, you can edit it by:
a. clicking Manage Marking (pencil looking icon under Actions) > Confirm Unable to Mark. This will take you back to the Manage Learners screen. You will see the response now has the mark status Finished: Failure
b. Click Manage Marking again and remove the Finished: Failure mark by clicking Delete Mark (red recycle looking icon)
c. Click Create Mark to re-mark the response.
10. Once a student’s writing has been successfully marked, you can view the score in the student’s Individual Report.