
Once all learners have sat the PAT Tuhituhi Te Pihinga assessment, their tests will need to be scanned and uploaded into NZCER Assist to be marked online. The following steps and images outline how to upload a PAT Tuhituhi Te Pihinga test into NZCER Assist.
1. Scan learner tests individually. If you are scanning all learner writing in bulk,
please make sure the tests are split by learner before uploading into NZCER Assist
TIP: NZCER Assist can accept files in pdf, jpeg and png format
2. In NZCER Assist, go to the Dashboard and select PAT Tuhituhi Te Pihinga
3. Find the relevant PAT Tuhituhi Te Pihinga assessment and select Manage Learners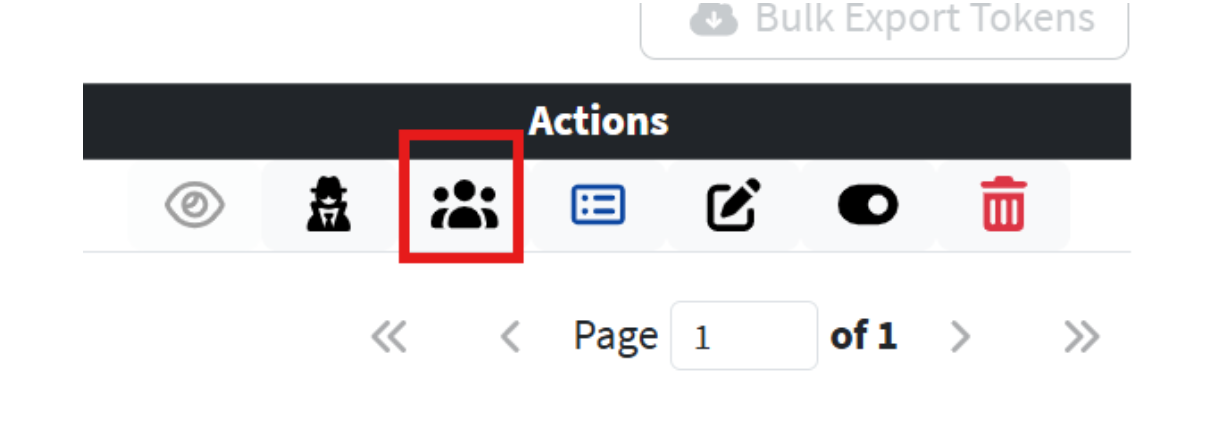
4. Find the student who’s writing is being uploaded and select Create Response
(keyboard looking icon)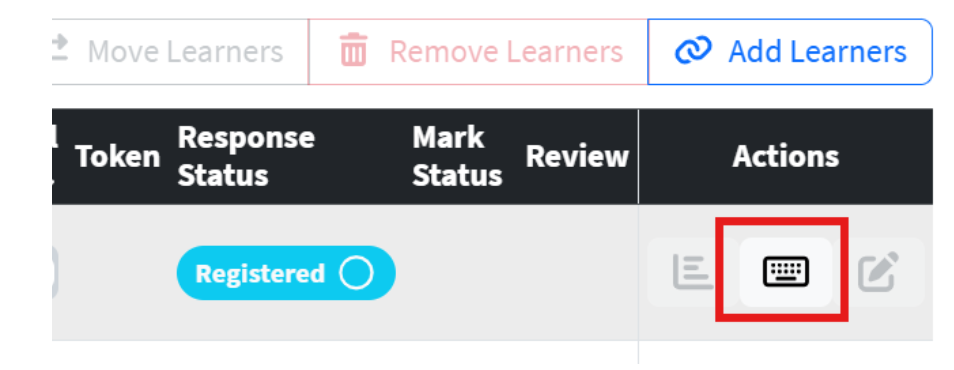
5. Upload the individual student’s writing into the response by dragging and dropping
the file, or clicking the grey area to select a file.
TIP: ‘Add File From Library’ gives you the option to upload a file from a library of files that have previously been uploaded into NZCER Assist. As an Admin, you can view all files uploaded. As a Teacher, you can only see files
you have uploaded.
TIP: You can rename the uploaded file under Display Name. Once the name is entered, changes are automatically saved.
TIP: To preview the file, click the preview button (eye looking icon) underActions. To remove the file from the response, click ‘Remove File’ (red recycle looking icon).
6. Once you’re happy with the file upload, click Back at the top right of the screen.
This will take you back to the list of learners sitting in the assessment.
Uploading writing tasks into NZCER Assist Print
Modified on: Tue, 11 Aug, 2026 at 3:46 PM
Did you find it helpful? Yes No
Send feedbackSorry we couldn't be helpful. Help us improve this article with your feedback.